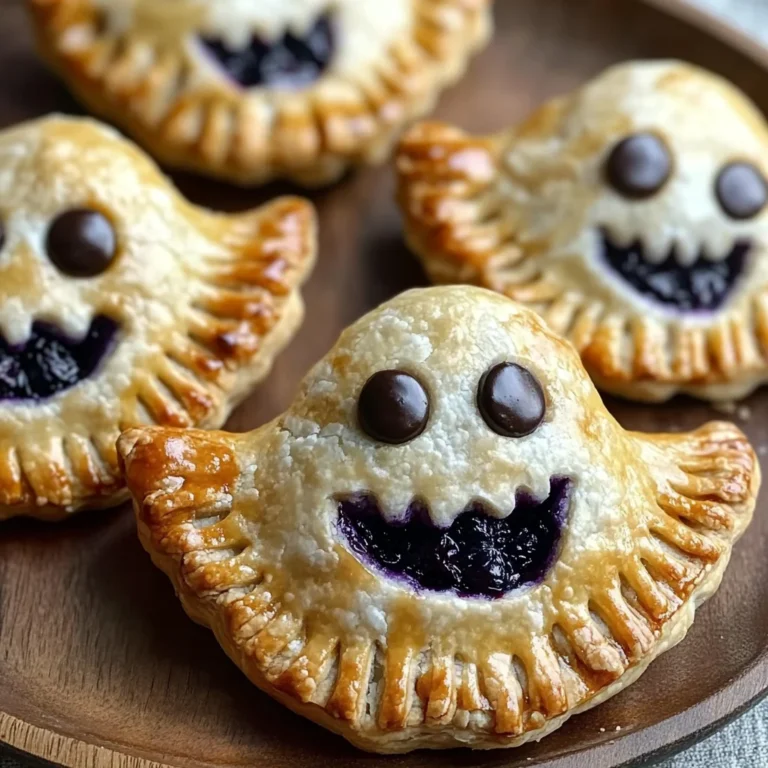
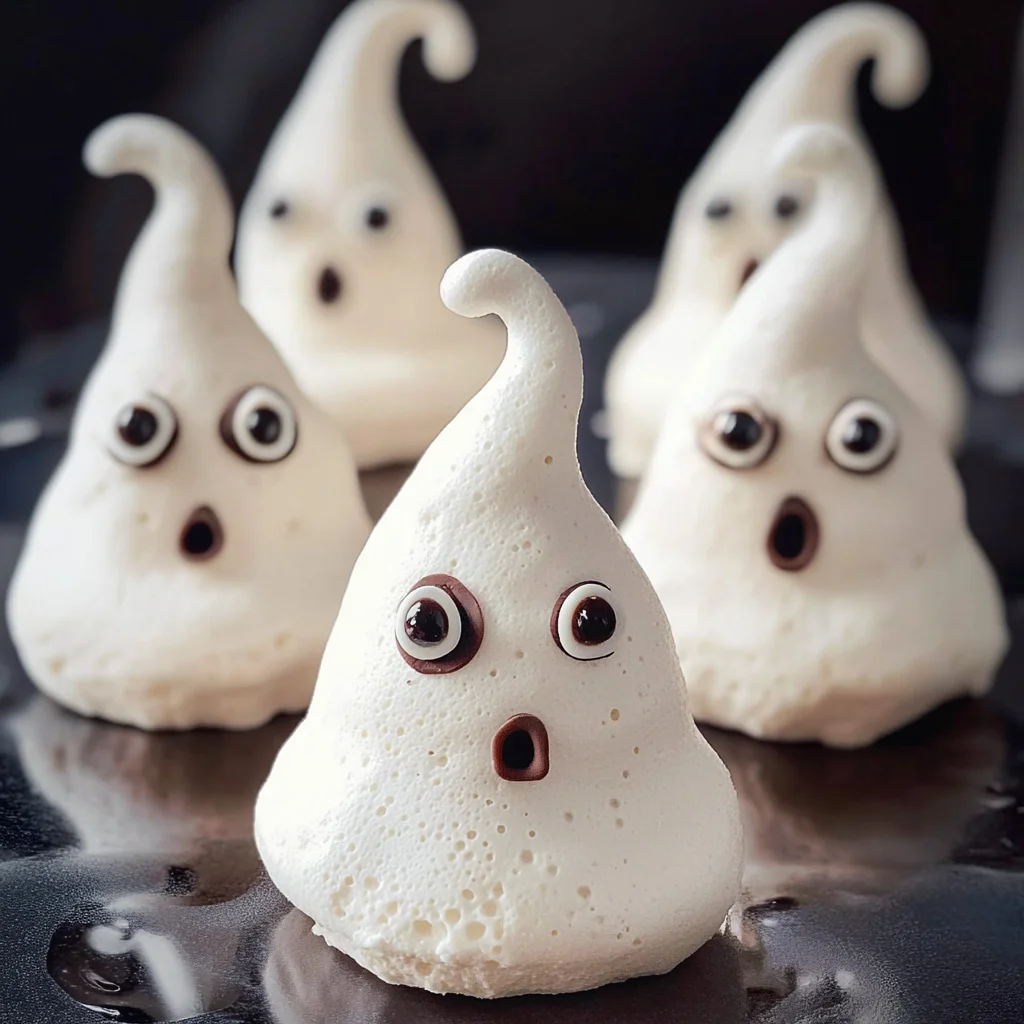
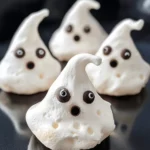
Meringue Ghosts
If you’re looking for a delightful and spooky treat to impress your friends or family, these Meringue Ghosts are just the ticket! They are not only adorable but also incredibly light and airy, making them perfect for any gathering. Whether you’re celebrating Halloween, a themed party, or just want to add a fun dessert to your weeknight meals, these meringues will surely bring smiles all around.
What I love most about this recipe is how simple it is. You can whip up a batch in no time, and they look fantastic on a dessert table. Plus, they’re made from just a handful of wholesome ingredients that you probably already have at home!
Why You’ll Love This Recipe
- Easy to make: With just a few steps, you’ll have these ghostly delights ready in no time.
- Family-friendly fun: Kids will love helping to pipe the ghosts and decorate them with candy eyes!
- Perfect for parties: These treats are not only cute but also a great conversation starter at any gathering.
- Make-ahead convenience: Meringue Ghosts can be prepared in advance and stored for up to two weeks—if they last that long!
- Light and airy: These little ghosts are a sweet treat that won’t weigh you down after a meal.
Ingredients You’ll Need
Let’s gather our simple, wholesome ingredients! You probably have most of these in your kitchen already. The beauty of Meringue Ghosts lies in their simplicity and the magic that happens when we whip egg whites into fluffy clouds!
- 2 large egg whites
- 1/4 teaspoon cream of tartar
- ½ cup granulated sugar
- ½ teaspoon pure vanilla extract
- candy eyeballs and/or mini chocolate chips
Variations
This recipe is wonderfully flexible, allowing you to get creative with flavors and decorations. Here are some fun ideas to switch things up:
- Add color: Use food coloring to tint your meringue in festive shades for different holidays or themes.
- Swap the flavor: Experiment with different extracts like almond or lemon instead of vanilla for a unique twist.
- Mix in sprinkles: Fold in some colorful sprinkles before piping for an extra festive touch.
- Make mini versions: Pipe smaller mounds for bite-sized ghost treats that are perfect for parties.
How to Make Meringue Ghosts
Step 1: Preheat Your Oven
Start by preheating your oven to 275°F (135°C). This low temperature helps the meringues dry out gently while becoming crisp. Line two baking sheets with parchment paper or Silpats—this will ensure that your ghosts come off easily after baking.
Step 2: Whip the Egg Whites
In a metal or glass bowl (avoid plastic if you can), add the egg whites. Beat them on medium-low until frothy—about 30 seconds. This initial stage is important because it sets the foundation for those lovely peaks we want later!
Step 3: Add Cream of Tartar
Next, sprinkle in the cream of tartar while continuing to mix at medium-low speed until it’s combined. This ingredient stabilizes the egg whites and helps them hold their shape as we continue mixing.
Step 4: Gradually Add Sugar
Now comes the sweet part! Gradually add the granulated sugar one tablespoon at a time over about 1-2 minutes. Taking your time here ensures that each bit of sugar dissolves completely—this is key to achieving that silky texture we love in meringues.
Step 5: Beat Until Stiff Peaks Form
Once all the sugar is added, increase your mixer speed to medium. Beat until stiff peaks form and your meringue looks shiny—this should take about 3 minutes. To check if it’s ready, rub a small amount between your fingers; it should feel smooth without any grit.
Step 6: Mix in Vanilla Extract
Gently fold in the pure vanilla extract just until combined. The vanilla adds warmth and depth to our ghostly treats.
Step 7: Prepare Your Piping Bag
Transfer the meringue into a large piping bag fitted with a 1/2” tip. A handy trick is to place the bag inside a tall glass while filling it; this makes it easier! Once filled, fold down the sides before pressing down towards the tip.
Step 8: Secure Your Parchment Paper
To prevent slipping, place small dollops of meringue under each corner of your lined baking sheet. This little step keeps everything stable while you pipe.
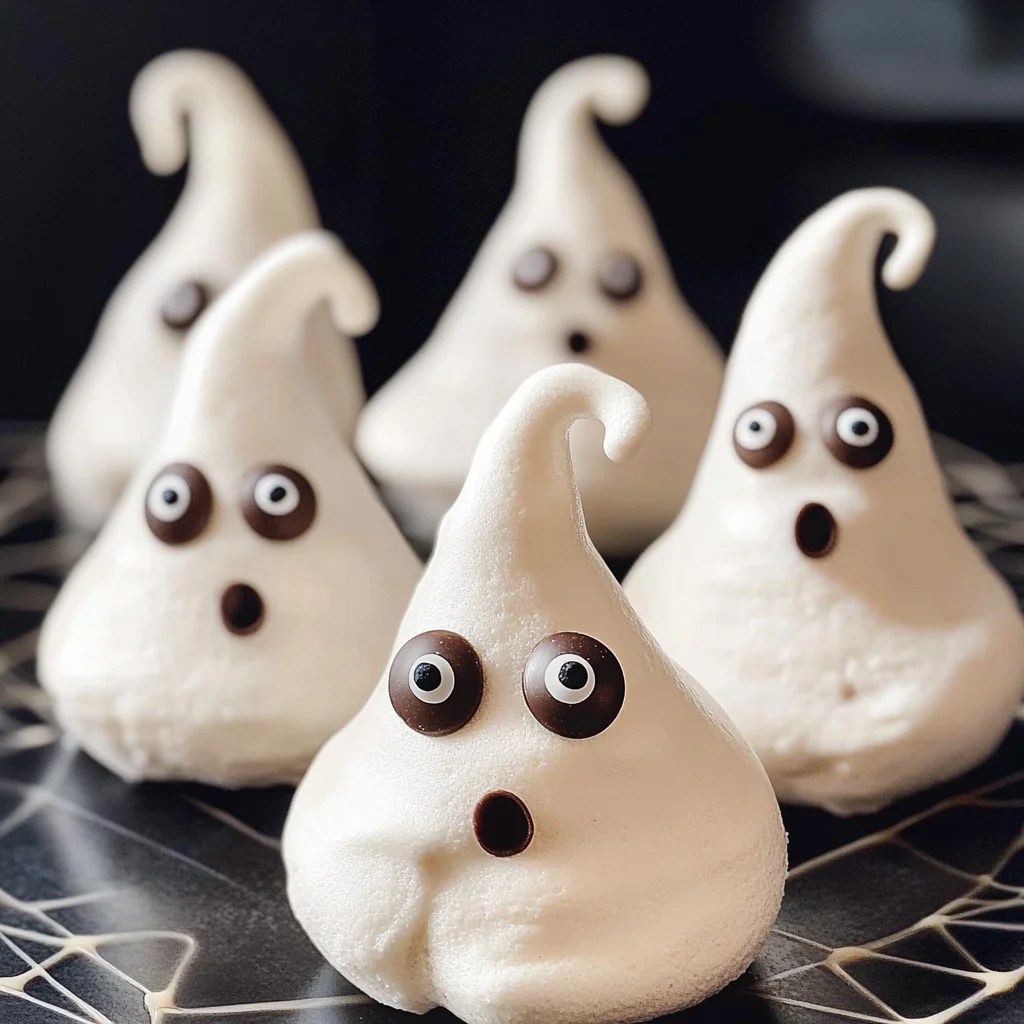
Step 9: Pipe Your Ghosts
Hold your piping bag perpendicular to the lined baking sheet and gently squeeze out about a 1-inch mound for small ghosts—or go bigger if you’d like! Varying shapes adds character; just remember to leave some space between each ghost so they don’t merge together while baking.
Step 10: Decorate with Eyes and Mouths
It’s time for some personality! Stick candy eyeballs on each ghost along with mini chocolate chips for mouths (pointy side down). This is where their spooky charm really comes alive!
Step 11: Bake Your Ghosts
Bake them for about an hour or until they’re dry and crisp. Remember not to open the oven door right after baking; turn off the oven and let them cool inside for another hour or two. This helps keep them from cracking!
Step 12: Store Your Treats
Once cooled, transfer these sweet ghosts into an airtight container at room temperature. They’ll stay fresh for up to two weeks if kept dry—though I doubt they’ll last that long with all those eager hands around!
Enjoy making these Meringue Ghosts—it’s such a joy to watch them come together!
Pro Tips for Making Meringue Ghosts
Making meringue can be tricky, but with these pro tips, you’ll have spook-tacular ghost treats in no time!
-
Use room temperature egg whites: Room temperature egg whites whip up better and achieve a greater volume, helping your ghosts maintain their airy texture.
-
Ensure your bowl is grease-free: Any grease can prevent the egg whites from whipping properly. Opt for metal or glass bowls instead of plastic to avoid any residue.
-
Gradually add sugar: Adding sugar slowly allows it to dissolve completely, which is essential for achieving that glossy finish and stiff peaks in your meringue.
-
Do not rush the drying process: Letting the meringues cool in the oven ensures they dry thoroughly without cracking, resulting in perfectly crisp ghosts.
-
Experiment with shapes: Varying the sizes and shapes of your ghosts not only makes them more visually appealing but also adds a fun touch to your spooky dessert spread!
How to Serve Meringue Ghosts
These delightful Meringue Ghosts are perfect for Halloween parties or just a fun treat to share with friends and family. Their whimsical appearance will definitely grab attention, making them a charming centerpiece on any dessert table.
Garnishes
- Sprinkles: Add some festive Halloween-themed sprinkles around the plate for a pop of color and fun.
- Cocoa powder dusting: A light dusting of cocoa powder can give your ghosts a shadowy effect, enhancing their spooky charm.
- Chocolate drizzle: A quick drizzle of melted dark chocolate over the ghosts can create an enticing contrast against the white meringue.
Side Dishes
- Pumpkin Spice Cupcakes: These moist cupcakes bring the cozy flavors of fall with every bite. Their rich frosting pairs beautifully with the lightness of meringues.
- Apple Slices with Caramel Dip: Fresh apple slices provide a crunchy contrast, while sweet caramel dip adds a deliciously rich element to your dessert spread.
- Homemade Hot Chocolate: A warm cup of hot chocolate is a perfect drink pairing that complements the sweetness of the meringues and offers a cozy feel on cool autumn evenings.
- Spooky Fruit Salad: Mix seasonal fruits like oranges, grapes, and pomegranate seeds for a refreshing side that balances out the sweetness of your ghostly treats.
Make Ahead and Storage
These delightful Meringue Ghosts are perfect for meal prep and can be made ahead of time for parties or festive gatherings. Their long shelf life makes them a fantastic treat to have on hand, ensuring you’re always ready to impress guests or enjoy a sweet snack.
Storing Leftovers
- Transfer any leftover meringue ghosts to an airtight container.
- Store at room temperature away from direct sunlight.
- They will stay fresh for up to 2 weeks if kept dry.
Freezing
- While I recommend enjoying these meringues fresh, you can freeze them if necessary.
- Place the meringues in a single layer on a baking sheet and freeze until solid.
- Once frozen, transfer them to an airtight container with parchment paper between layers.
- They can be stored in the freezer for up to 1 month.
Reheating
- Meringue ghosts do not require reheating since they are best enjoyed at room temperature.
- If they have absorbed moisture, you can place them back in a low oven (around 200°F / 93°C) for about 10 minutes to help restore their crispness.
FAQs
Here are some common questions about making Meringue Ghosts that might help you along the way!
Can I make Meringue Ghosts without egg whites?
Unfortunately, egg whites are essential for achieving the light and airy texture of meringues. However, you might consider aquafaba (the liquid from canned chickpeas) as an alternative for a vegan version!
How do I know when my Meringue Ghosts are done?
Meringue Ghosts should be dry and crisp when baked. After baking, let them cool inside the oven with the door closed. If they feel firm and light, they’re ready!
What can I use instead of candy eyeballs for my Meringue Ghosts?
If you don’t have candy eyeballs, mini chocolate chips work great too! You can also use small pieces of dried fruit or even pipe little dots of melted chocolate.
Can I use flavored extracts in my Meringue Ghosts?
Absolutely! While vanilla is classic, feel free to experiment with other extracts like almond or peppermint for a fun twist on flavor.
How can I decorate my Meringue Ghosts differently?
You can get creative with decorations by using colored icing or edible glitter. Just remember that whatever you choose should be lightweight so it doesn’t weigh down the meringues!
Final Thoughts
I hope this recipe for Meringue Ghosts brings a bit of spooky fun into your kitchen! They are not only adorable but also deliciously crunchy – perfect for sharing with friends and family during Halloween or any festive occasion. Enjoy making these delightful treats, and don’t hesitate to put your unique spin on them. Happy baking!
Meringue Ghosts
Get ready for a spooky dessert that will delight both kids and adults alike! These Meringue Ghosts are light, airy confections that add a playful touch to any Halloween gathering or festive celebration. Made with just a handful of simple ingredients, they are easy to whip up and perfect for family fun in the kitchen. Whether you’re looking for a standout treat for your dessert table or a fun activity with the kids, these ghostly delights are sure to impress. With their whimsical shape and charming candy eyeballs, Meringue Ghosts are not only visually appealing but also a deliciously sweet snack that won’t weigh you down after dinner. Plus, they can be made ahead of time and stored for up to two weeks—if they last that long!
- Prep Time: 15 minutes
- Cook Time: 60 minutes
- Total Time: 1 hour 15 minutes
- Yield: Approximately 12 ghosts 1x
- Category: Dessert
- Method: Baking
- Cuisine: American
Ingredients
- 2 large egg whites
- 1/4 teaspoon cream of tartar
- ½ cup granulated sugar
- ½ teaspoon pure vanilla extract
- Candy eyeballs and/or mini chocolate chips
Instructions
- Preheat your oven to 275°F (135°C) and line two baking sheets with parchment paper.
- In a glass or metal bowl, beat egg whites on medium-low until frothy (about 30 seconds).
- Add cream of tartar and mix until combined.
- Gradually add granulated sugar one tablespoon at a time while continuing to beat until stiff peaks form (about 3 minutes).
- Gently fold in vanilla extract.
- Transfer meringue to a piping bag fitted with a large tip and pipe ghost shapes onto the prepared baking sheets.
- Decorate with candy eyeballs and chocolate chips.
- Bake for about an hour or until dry and crisp, then cool in the oven with the door closed.
Nutrition
- Serving Size: 1 ghost (15g)
- Calories: 60
- Sugar: 13g
- Sodium: 0mg
- Fat: 0g
- Saturated Fat: 0g
- Unsaturated Fat: 0g
- Trans Fat: 0g
- Carbohydrates: 15g
- Fiber: 0g
- Protein: 1g
- Cholesterol: 0mg