Pumpkin Crisp
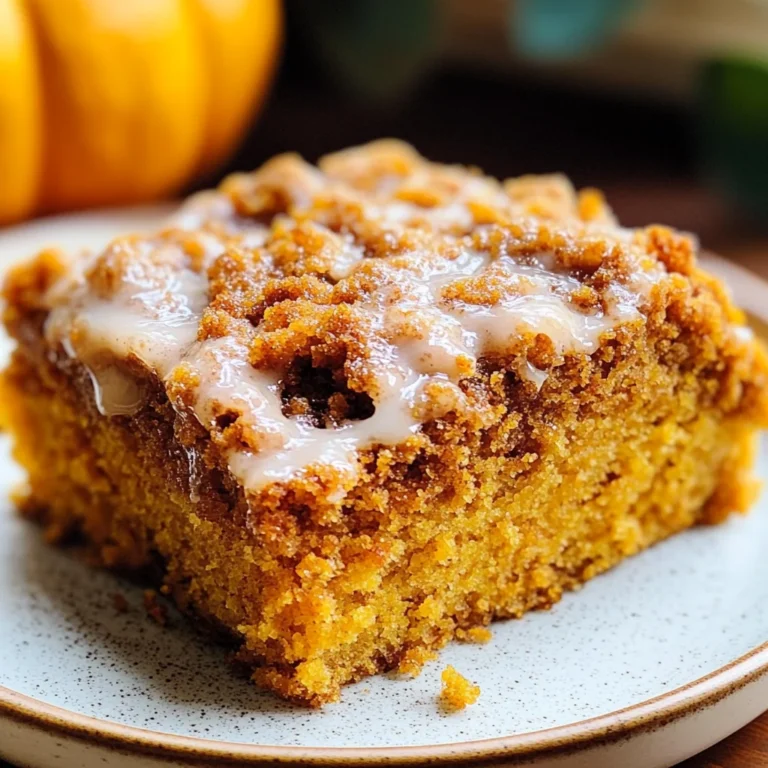
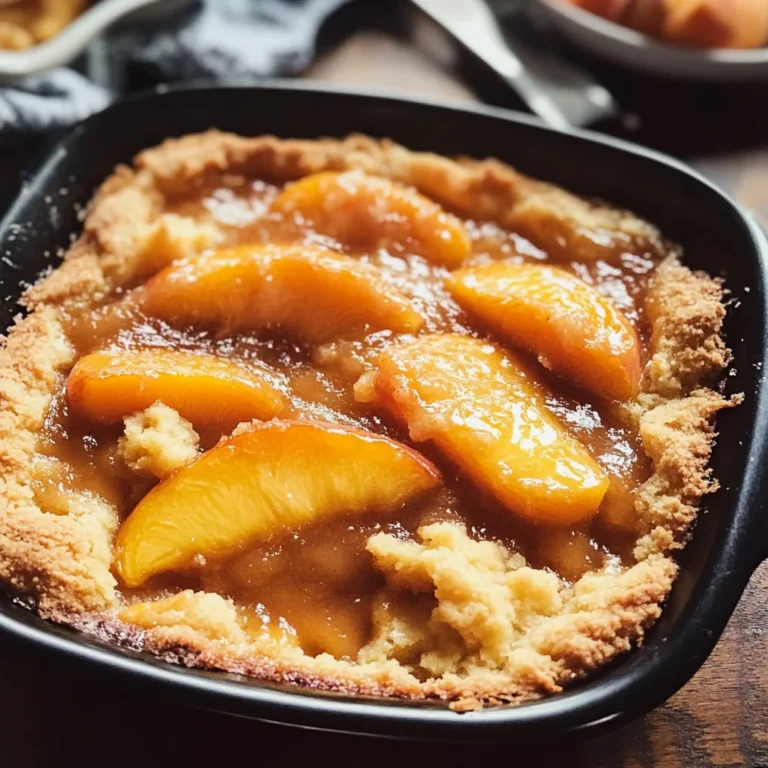
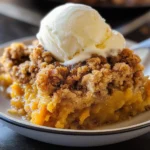
If you’re looking for a dessert that captures the essence of fall, then this Pumpkin Crisp is your answer! Imagine creamy pumpkin pie filling nestled beneath a golden cinnamon streusel topping. It’s warm, comforting, and incredibly easy to whip up. Whether it’s a busy weeknight or a family gathering, this delightful dish will have everyone coming back for seconds (or thirds!).
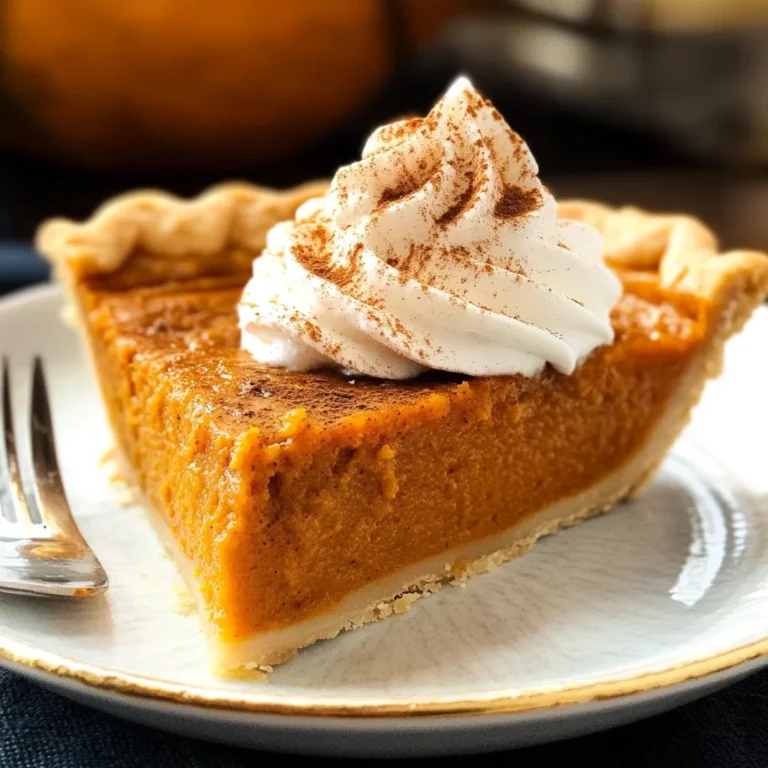
What makes this recipe truly special is how it combines familiar flavors with a fresh twist. Instead of serving traditional pumpkin pie, this Pumpkin Crisp offers the same cozy taste but with an added crunch that’s simply irresistible!
Why You’ll Love This Recipe
- Quick to prepare: With just 15 minutes of prep time, you can have this delicious dessert in the oven before you know it.
- Family-friendly: Everyone loves pumpkin flavors, making this crisp a hit with kids and adults alike!
- Perfect for gatherings: This recipe serves 6 to 8 people, making it ideal for sharing at potlucks or holiday dinners.
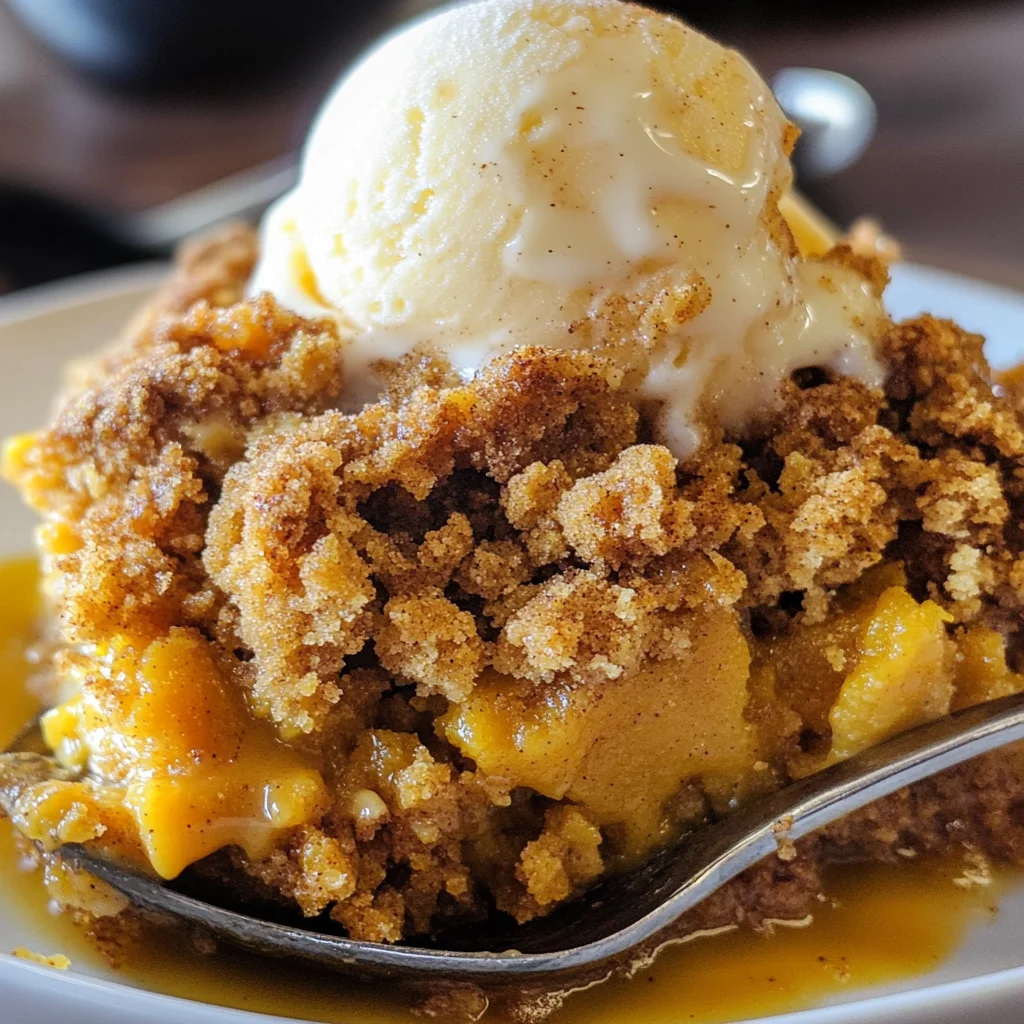
- Deliciously versatile: You can enjoy it warm with ice cream or even on its own—there’s no wrong way to savor this treat!
- Make-ahead convenience: You can easily prepare the filling in advance and bake just before serving.
Ingredients You’ll Need
Let’s gather some simple, wholesome ingredients to make our Pumpkin Crisp. You probably already have most of these items in your pantry! Here’s what you’ll need:
For the Pumpkin Filling
- 1 (15 oz) can pumpkin puree
- 1 cup granulated sugar
- 3 large eggs
- 2 teaspoons pumpkin pie spice
- 1/2 teaspoon salt
- 2 teaspoons vanilla extract
- 2/3 cup heavy cream
For the Streusel Topping
- 2 cups all-purpose flour
- 1 1/2 cups granulated sugar
- 2 teaspoons cinnamon
- 1/2 teaspoon salt
- 12 tablespoons (1 1/2 sticks) unsalted butter (melted)
Variations
One of the best parts about this Pumpkin Crisp recipe is its flexibility! Feel free to get creative with these fun variations:
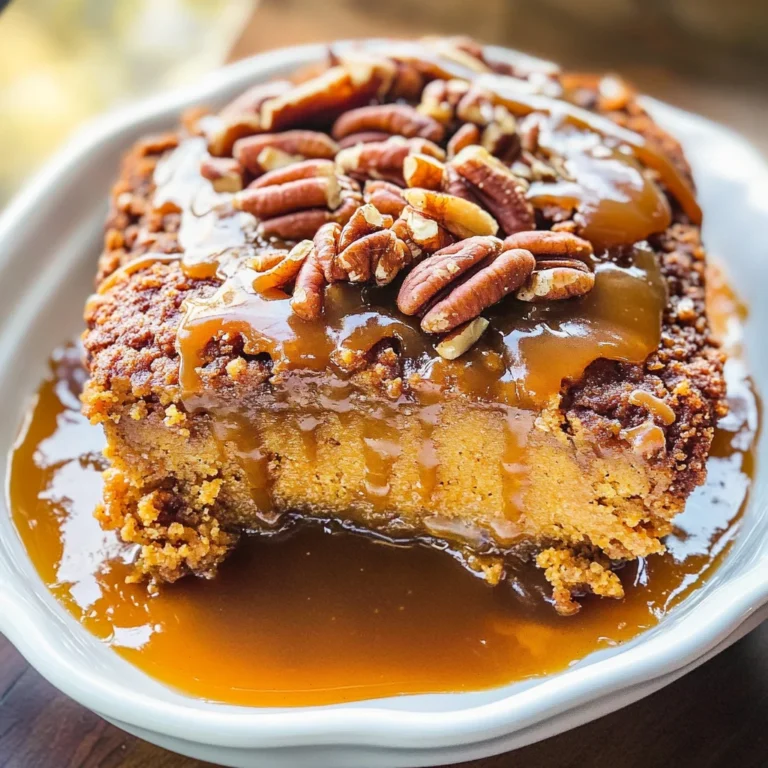
- Add nuts: Consider mixing in chopped pecans or walnuts for an added crunch and flavor.
- Use different spices: Swap out pumpkin pie spice for apple pie spice or even a dash of nutmeg for a unique twist.
- Try different toppings: Instead of ice cream, serve it with coconut whipped cream or yogurt for a lighter option.
- Make it gluten-free: Substitute all-purpose flour with your favorite gluten-free blend to accommodate dietary needs.
How to Make Pumpkin Crisp
Step 1: Preheat the Oven
Preheat your oven to 375°F. Greasing a 12-inch cast iron skillet or a medium casserole dish helps prevent sticking and ensures your crisp comes out beautifully golden.
Step 2: Prepare the Pumpkin Filling
In a large bowl, whisk together the pumpkin puree, sugar, eggs, pumpkin pie spice, salt, and vanilla extract. Adding heavy cream gives the filling that rich texture we love in pumpkin desserts. Mix until smooth and pour into your prepared skillet—it’s like creating a cozy blanket of flavor!
Step 3: Make the Streusel Topping
In another bowl, combine flour, sugar, cinnamon, and salt. The melted butter binds these ingredients together into crumbly goodness. Use a fork to mix until everything is evenly coated; you want that lovely crumb texture on top!
Step 4: Assemble and Bake
Spread the streusel topping over your pumpkin mixture evenly. Bake until the filling is set and the topping turns golden brown—this usually takes about 40 to 45 minutes. If you notice that the streusel browns too quickly, don’t hesitate to cover it lightly with foil.
Step 5: Let It Cool and Serve
Allow your Pumpkin Crisp to cool for about 10 minutes. This step helps the filling firm up so each slice holds its shape beautifully when served. I love enjoying mine warm with a scoop of cinnamon ice cream—pure bliss!
Now you’re all set to share this delightful Pumpkin Crisp with friends and family. Enjoy every bite!
Pro Tips for Making Pumpkin Crisp
Creating the perfect Pumpkin Crisp is easy, and with a few handy tips, you’ll elevate your dessert to new heights!
-
Use Fresh Ingredients: Ensure your pumpkin puree is fresh (or use homemade) for a richer flavor. Fresh ingredients can make a noticeable difference in taste.
-
Don’t Overmix: When combining the streusel topping, mix just until crumbly. Overmixing can lead to a dense topping rather than the light and crispy texture we love.
-
Check for Doneness: The filling should be set before removing from the oven. Use a toothpick in the center; it should come out clean for perfect results.
-
Let It Cool: Allow the Pumpkin Crisp to cool for at least 10 minutes before serving. This helps the filling firm up, making it easier to serve and enhancing the flavors.
-
Experiment with Spices: Feel free to customize your spice blend! Adding a pinch of nutmeg or ginger can give your crisp an extra kick of warmth that’s perfect for fall.
How to Serve Pumpkin Crisp
Serving your Pumpkin Crisp is just as delightful as making it! Here are some ideas to make your presentation shine.
Garnishes
- Whipped Coconut Cream: A dollop of whipped coconut cream adds a creamy, dairy-free alternative that complements the warm spices beautifully.
- Chopped Nuts: Sprinkle some toasted pecans or walnuts on top for added crunch and flavor contrast.
- Caramel Drizzle: A light drizzle of caramel sauce can take your dessert over the top with its sweet richness.
Side Dishes
- Vanilla Ice Cream: The classic pairing! A scoop of vanilla ice cream melts beautifully over warm pumpkin crisp, creating a comforting dessert experience.
- Cinnamon Apples: Simple sautéed apples with cinnamon provide a fruity contrast that enhances the pumpkin flavors.
- Creamy Mashed Potatoes: While not traditional, creamy mashed potatoes can make for an interesting savory side that balances sweetness perfectly.
- Roasted Brussels Sprouts: The slight bitterness from roasted Brussels sprouts pairs well with the sweetness of the crisp, creating a delicious balance on your plate.
With these tips and serving suggestions, your Pumpkin Crisp will not only taste amazing but will also look stunning on any table! Enjoy every bite of this comforting fall treat.
Make Ahead and Storage
This Pumpkin Crisp is not only delicious but also perfect for meal prep! You can whip it up in advance, making it an ideal dessert for gatherings or cozy nights in.
Storing Leftovers
- Allow the Pumpkin Crisp to cool completely before storing.
- Cover it tightly with plastic wrap or aluminum foil.
- Store in the refrigerator for up to 3 days.
Freezing
- Wrap the cooled Pumpkin Crisp tightly in plastic wrap and then in aluminum foil.
- It can be frozen for up to 2 months.
- For best results, thaw overnight in the refrigerator before reheating.
Reheating
- Preheat your oven to 350°F (175°C).
- Cover the Pumpkin Crisp with foil to prevent over-browning.
- Heat for about 15-20 minutes until warmed through.
FAQs
Here are some common questions you might have about this delightful Pumpkin Crisp recipe!
Can I use fresh pumpkin instead of canned puree for Pumpkin Crisp?
Absolutely! If you prefer using fresh pumpkin, you’ll need to cook and puree it first. About 2 cups of cooked pumpkin will work well.
How do I ensure my Pumpkin Crisp filling sets properly?
To ensure a perfectly set filling, make sure to bake it until the center is just firm. The edges should be slightly puffed but not overly jiggly!
What makes this Pumpkin Crisp different from traditional pumpkin pie?
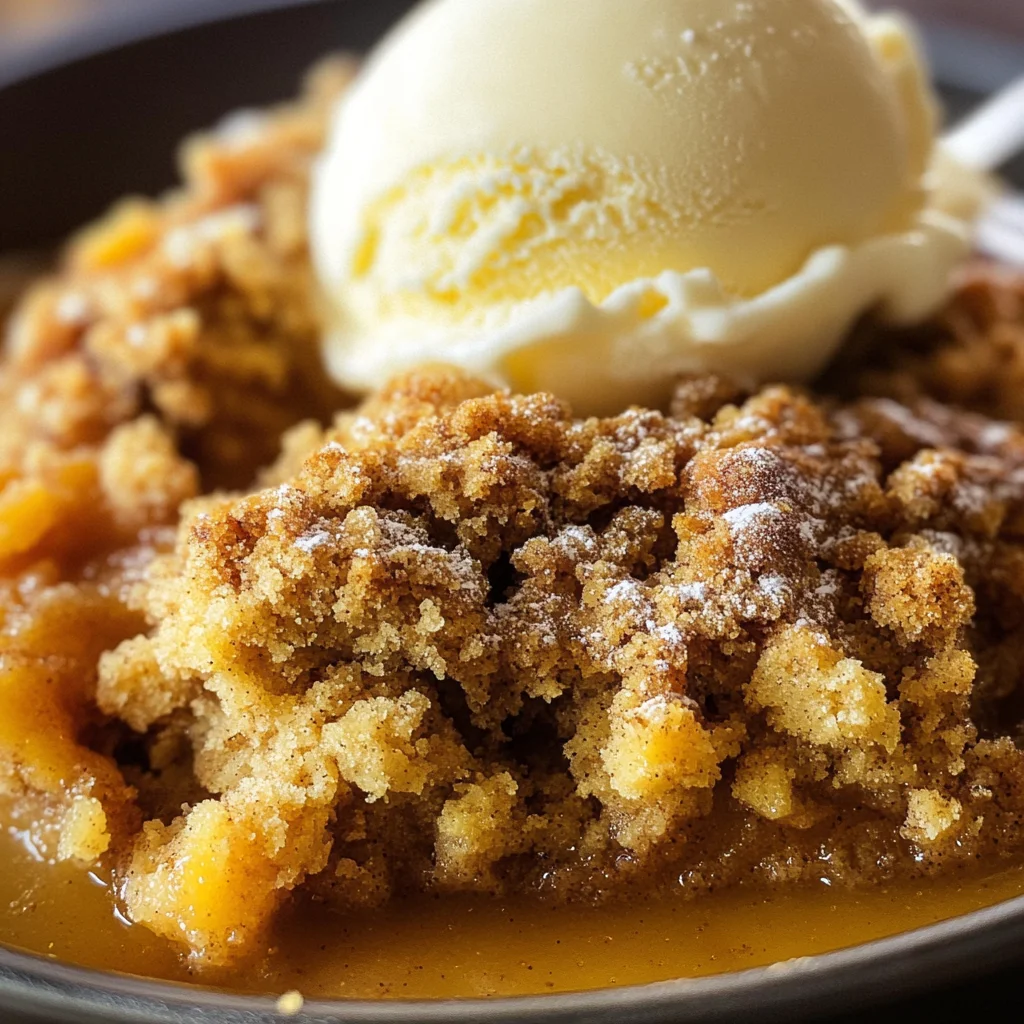
This Pumpkin Crisp features a delightful crumb topping that adds a crunchy texture, offering a wonderful contrast to the creamy pumpkin filling.
Final Thoughts
I hope you find as much joy in making this Pumpkin Crisp as I do! It’s the perfect dessert to celebrate fall flavors and share with loved ones. Whether enjoyed warm with a scoop of ice cream or chilled on its own, it’s sure to become a cherished favorite. Enjoy every bite, and happy baking!
Pumpkin Crisp
Indulge in the cozy flavors of fall with this delightful Pumpkin Crisp! Featuring a creamy pumpkin filling and a crunchy cinnamon streusel topping, this dessert is perfect for any occasion—be it a family gathering or a weeknight treat. With just 15 minutes of prep time, you can enjoy this warm, comforting dish that invites seconds from everyone at the table. The unique combination of familiar pumpkin pie flavors with an irresistible crunch makes this recipe a must-try for the season.
- Prep Time: 15 minutes
- Cook Time: 45 minutes
- Total Time: 1 hour
- Yield: Serves about 8 people 1x
- Category: Dessert
- Method: Baking
- Cuisine: American
Ingredients
- 1 (15 oz) can pumpkin puree
- 1 cup granulated sugar
- 3 large eggs
- 2 teaspoons pumpkin pie spice
- 1/2 teaspoon salt
- 2 teaspoons vanilla extract
- 2/3 cup heavy cream
- 2 cups all-purpose flour
- 1 1/2 cups granulated sugar (for topping)
- 2 teaspoons cinnamon
- 12 tablespoons unsalted butter (melted)
Instructions
- Preheat your oven to 375°F and grease a 12-inch cast iron skillet or medium casserole dish.
- In a large bowl, whisk together the pumpkin puree, sugar, eggs, pumpkin pie spice, salt, and vanilla extract until smooth. Mix in heavy cream and pour into the prepared dish.
- In another bowl, combine flour, sugar for topping, cinnamon, and salt. Add melted butter and mix until crumbly.
- Spread the streusel topping evenly over the pumpkin mixture. Bake for about 40 to 45 minutes until set and golden brown on top.
- Allow to cool for about 10 minutes before slicing and serving.
Nutrition
- Serving Size: 1/8 of recipe (approximately 100g)
- Calories: 350
- Sugar: 30g
- Sodium: 150mg
- Fat: 18g
- Saturated Fat: 10g
- Unsaturated Fat: 7g
- Trans Fat: 0g
- Carbohydrates: 44g
- Fiber: 2g
- Protein: 4g
- Cholesterol: 60mg